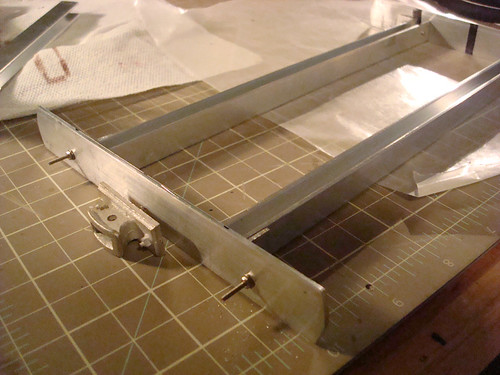
From what I've gathered, layout is one of the most crucial steps. Woodworkers have that saying -- "measure twice, cut once." The same holds true for metal work, however being precise is brought to a new level. When I was building the chassis, I needed to make sure that I got the width in which the wheels would be mounted as exact as I could.
To do this, I started by making black lines on the metal in the general area where I was going to make a mark. This gave me a surface to scratch off (this is an easier and faster way of doing what most machinists would use blue layout dye for)...


With accurate lines I was able to construct the chassis to be the proper width to mount the wheel journals (axleboxes) on...
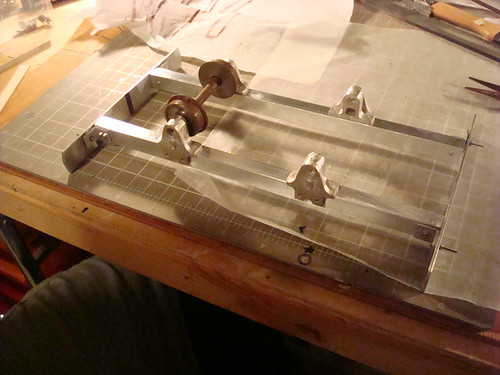
I haven't yet bolted the journals on, but here's an idea of what they might look like once mounted...

...the chassis is less than 1/32 of an inch too short! In some sense I'm kinda proud that I was able to be that accurate without a caliper or some sort of other measuring device and by using just hand tools (hack saw + file), but on the other hand it means I need to shave down 1/64" off of either side. I'm sure it won't be a huge deal to fix.
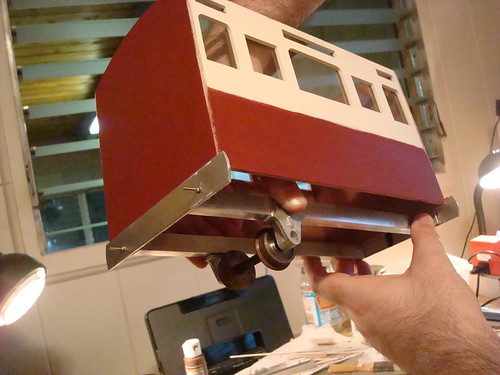
I was curious how it would look and perform with the wheels in place, but wasn't quite ready to commit and bolt down the wheels. So I measured the approximate location and taped them in place just to be able to see and try it out. Here's a short video...
No comments:
Post a Comment